Normal PC#

Requirements#
How can I check if I'm 64-bit?
Windows: Consult Microsoft's guide.
MacOS: Click the and choose About This Mac. Anything other than Intel Core Solo or Intel Core Duo (Intel Core 2 Duo is 64-bit) under CPU is 64-bit.
Linux: Run getconf LONG_BIT in a terminal. The resulting number should be 64.
- A 64-bit CPU, from no earlier than 2009.
- A minimum of 4 GBs of RAM and 25 GBs of storage.
- A spare USB drive, with a minimum size of 4GBs.
- A network connection, for the installer
- Time
- (Optional) Basic YAML knowledge
Download blendOS#
Go to the Download page.
Flash a USB#
This will wipe the contents of your USB drive!
Download Ventoy and extract it to a folder.
Once downloaded, open Ventoy2Disk.exe or Ventoy2Disk.sh.
Choose your drive at the top. Then make sure Secure Boot Support is checked and that the Partition Style is GPT.
Choose Install.
Download the blendOS ISO and copy it to the drive labeled Ventoy.
Download Popsicle from your package manager, Flathub, or the AppImage.
Pick the blendOS ISO image and click Next. Pick your USB device and click Flash!
Open the blendOS ISO in Rufus and pick your USB drive (don't touch any other options).
Press START. When prompted, choose DD Mode!
Install blendOS#
Boot the USB#
First, find your one-time boot key. You can do this by searching:
<YOUR_MOTHERBOARD_MANUFACTURER_HERE> one-time boot key
or
<YOUR_MOTHERBOARD_MANUFACTURER_HERE> bios setup key
Tip: Common boot keys include: F12, Esc, F2, F10 and F11.
Plug your USB in and spam that key while turning on your PC.
You should see a device list, choose your USB device. It will be listed under its brand name or as EFI USB device. If you get booted to a diagnostic screen or get a "Secure Boot violation" error, see the below abstract.
Disabling Secure Boot
Disabling Secure Boot is required to use the distro (if you want to set up Secure Boot support on your own later you can). To disable it, enter your BIOS setup and find a section called Secure Boot (or if it doesn't exist, look under Boot). Turn Secure Boot (also called UEFI Secure Boot) off.
If you want to know what Secure Boot is, see Microsoft's article on it.
If you see a sort of settings menu, go to the Boot section, and change the boot order so that your USB drive is at the top. Then save your changes and reboot.
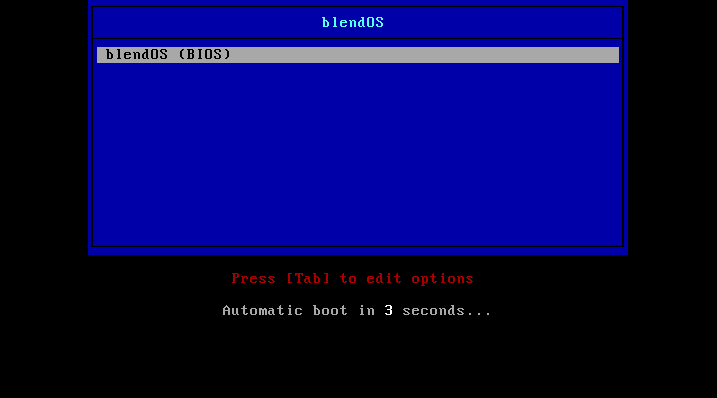
If you're on legacy BIOS, you'll see a bootscreen, just press Enter. If you're on UEFI blendOS will just load.
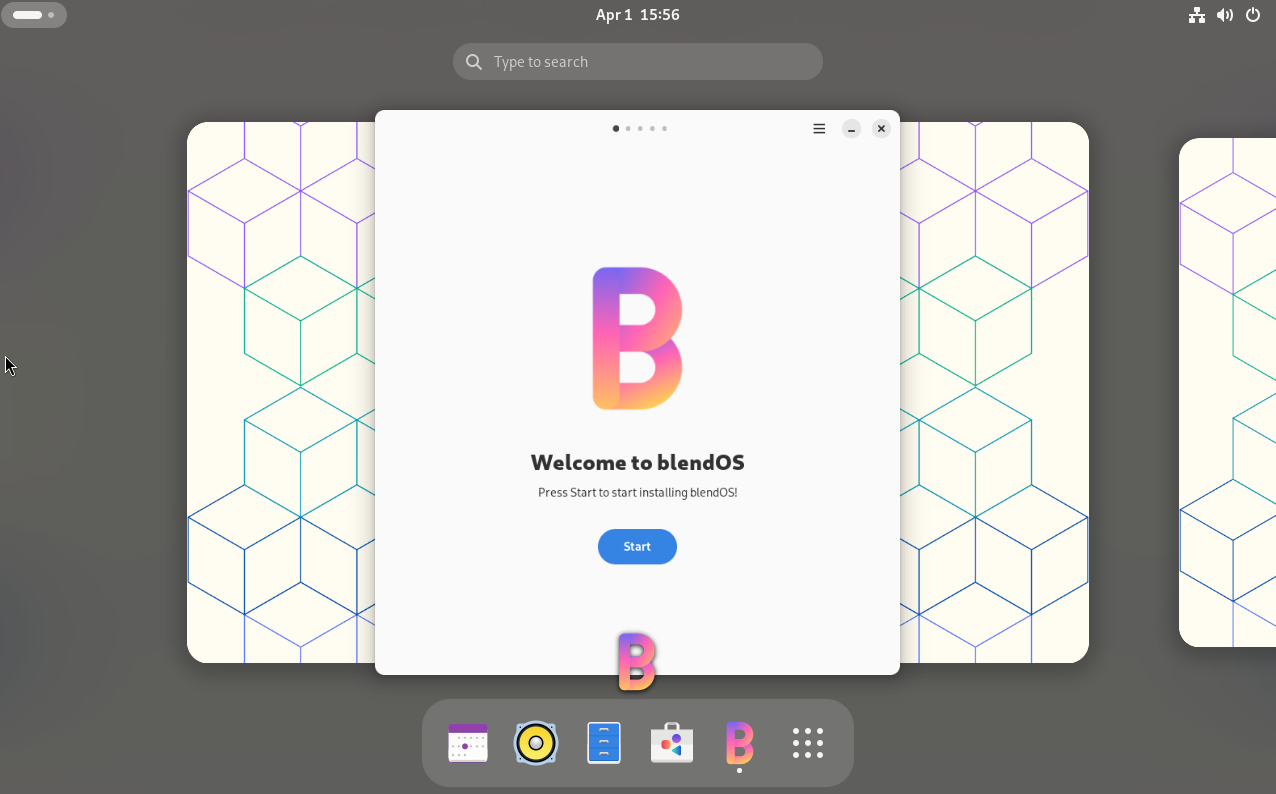
Eventually the desktop will load and look something like this:
Running the installer#
Click Start.
Disk#
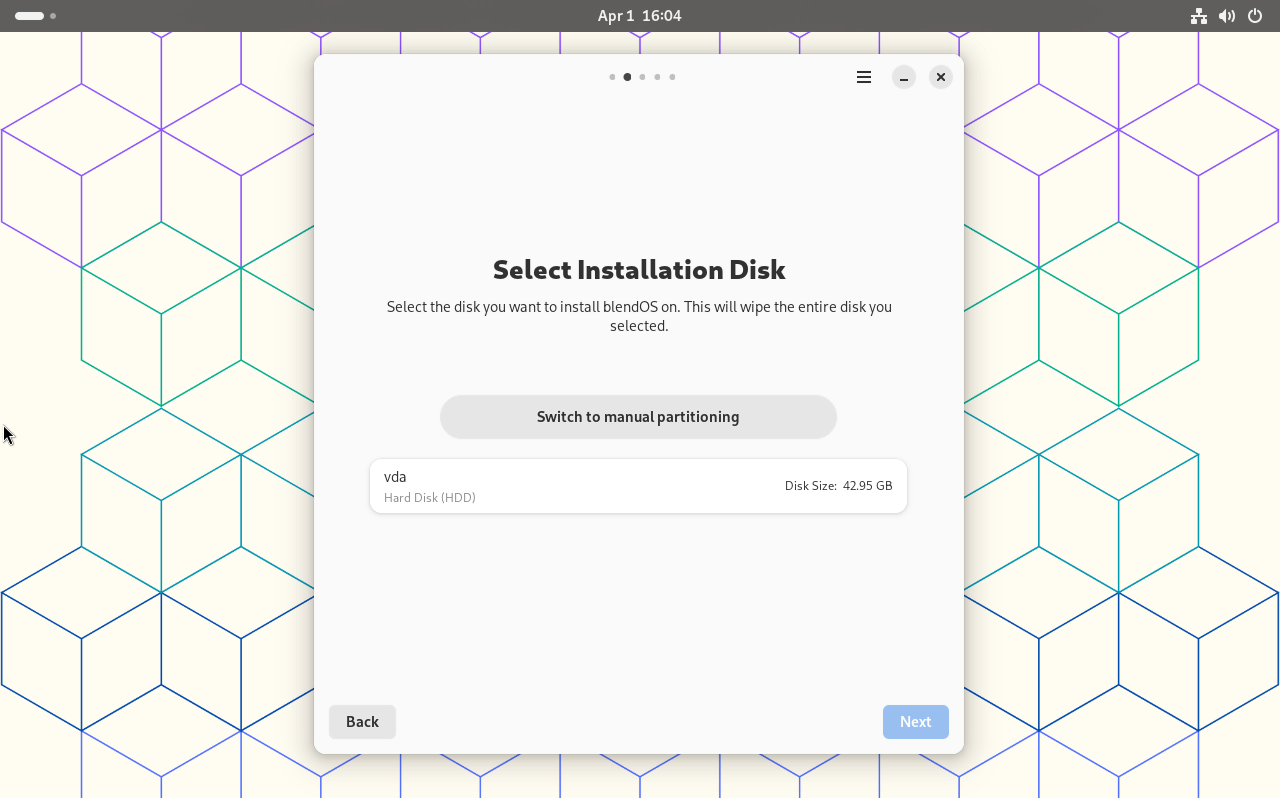
Once you start, you now need to choose your installation disk.
You can either choose a disk ( THIS WIPES THE CHOSEN DISK AND ALL DATA ON IT!) or go to Manual Partitioning.
Manual Partitioning#
Oh, wait, Rudra wrote this guide for me 
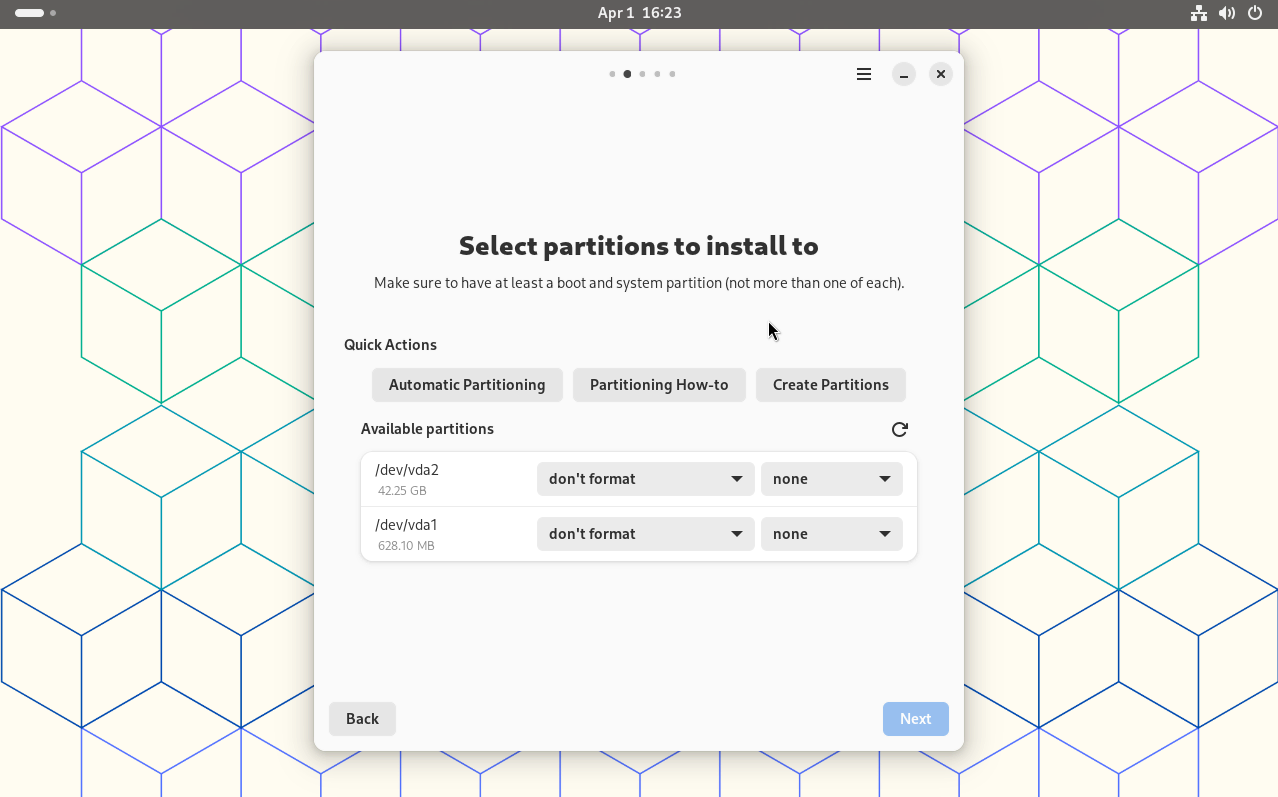
After clicking Switch to Manual Partitioning, choose Partitioning How-To under Quick Actions. This will explain exactly what to do.
A copy of the file that opens has been provided here for reference:
Partitioning How-To (English only)
 ____            _   _ _   _             _
|  _ \ __ _ _ __| |_(_) |_(_) ___  _ __ (_)_ __   __ _
| |_) / _` | '__| __| | __| |/ _ \| '_ \| | '_ \ / _` |
|  __/ (_| | |  | |_| | |_| | (_) | | | | | | | | (_| |
|_|   \__,_|_|   \__|_|\__|_|\___/|_| |_|_|_| |_|\__, |
                                                 |___/
 _   _                    _
| | | | _____      __    | |_ ___
| |_| |/ _ \ \ /\ / /____| __/ _ \       (CC-BY-SA 4.0)
|  _  | (_) \ V  V /_____| || (_) |         (by rs2009)
|_| |_|\___/ \_/\_/       \__\___/

=======================================================

This guide will cover different configurations, including
users who want to install blendOS alongside Windows, as
well as Linux users who would like to keep their existing
Linux distribution and install blendOS alongside.

=======================================================

   ____           _      ___         __
  / __/__  ____  | | /| / (_)__  ___/ /__ _    _____   __ _____ ___ _______
 / _// _ \/ __/  | |/ |/ / / _ \/ _  / _ \ |/|/ (_-<  / // (_-</ -_) __(_-<
/_/  \___/_/     |__/|__/_/_//_/\_,_/\___/__,__/___/  \_,_/___/\__/_/ /___/

Do you want to replace your existing Windows installation
with blendOS, or install blendOS alongside Windows without
losing your files?

If the former, follow the 'Automatic Partitioning' guide below; for
the latter, you may follow the 'Manual Partitioning' guide underneath.

+------------------------+
+ Automatic Partitioning +
+------------------------+

WARNING: Automatic partitioning will erase all files on your disk.

1. Switch back to Automatic Partitioning.

2. Select your main hard drive/SSD.

3. Proceed to the next page, and continue with installation.

+---------------------+
+ Manual Partitioning +
+---------------------+

1. Select 'Create Partitions'.

2. Make sure your primary system drive is selected.

3. Create a new partition of a size of 512MB, formatted as fat32.

4. Create another partition of a size of at least 40GBs, formatted as ext4.

5. Click on the tick above to apply the changes.

6. Close the opened window, and reload the list of available partitions.

7. Select the right-most dropdown for the 512MB partition, and select 'Boot'.

8. Select the right-most dropdown for the other partition, and select 'System'.

9. Voila! You may now proceed to the next page, and continue with installation.

=======================================================

   ____           __   _
  / __/__  ____  / /  (_)__  __ ____ __  __ _____ ___ _______
 / _// _ \/ __/ / /__/ / _ \/ // /\ \ / / // (_-</ -_) __(_-<
/_/  \___/_/   /____/_/_//_/\_,_//_\_\  \_,_/___/\__/_/ /___/

Do you want to replace your existing Linux installation
with blendOS, or install blendOS alongside Linux without
losing your files?

If the former, follow the 'Automatic Partitioning' guide below; for
the latter, you may follow the 'Manual Partitioning' guide underneath.

+------------------------+
+ Automatic Partitioning +
+------------------------+

WARNING: Automatic partitioning will erase all files on your disk.

1. Switch back to Automatic Partitioning.

2. Select your main hard drive/SSD.

3. Proceed to the next page, and continue with installation.

+---------------------+
+ Manual Partitioning +
+---------------------+

1. Select 'Create Partitions'.

2. Make sure your primary system drive is selected.

3. Create a new partition of a size of 512MB, formatted as fat32.

4. Create another partition of a size of at least 40GBs, formatted as ext4.

5. Click on the tick above to apply the changes.

6. Close the opened window, and reload the list of available partitions.

7. Select the right-most dropdown for the 512MB partition, and select 'Boot'.

8. Select the right-most dropdown for the other partition, and select 'System'.

9. Voila! You may now proceed to the next page, and continue with installation.

=======================================================

Thanks for taking the time to read this entire guide!

Author: Rudra Saraswat
License: CC BY-SA 4.0 (https://creativecommons.org/licenses/by-sa/4.0/)
"Reloading the list of available partitions" means click that little refresh icon (![]() )
)
I set up partitioning and the Next button is greyed out!
This is a strange bug, simply switch to automatic partitioning then back to manual partitioning again.
You will see a summary and the installation will begin. Wait for first build to finish, then click Next and finally, Reboot.
First Boot#
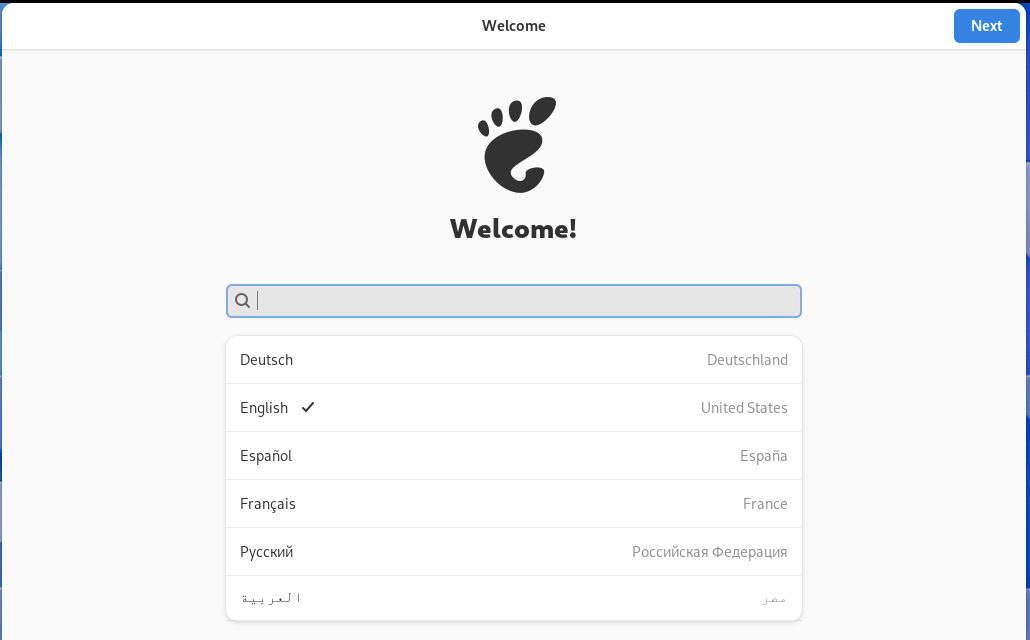
On first boot, a GNOME welcome window will open. From here, it's pretty self-explanatory. Set your language, keyboard, timezone, etc.
My language isn't listed!
Pick English for now, once you load into the system follow the language guide to add another language.
After you click Start Using, your desktop will open.
blendOS is now installed!
Now, continue with the Post-Install section.

