Introduction to blendOS#
This is not just for new users
This article describes how you can get around blendOS and summarizes blendOS's core functionality in a concise manner, making it easy to decide if blendOS is for you. (Refer to the table of contents to the right if you're on a computer and the table is visible to you. On mobile, open the hamburger menu, and click the table of contents icon.)
This guide will quickly familiarize you with how you can get around blendOS as a prior Arch Linux user through the terminal (this guide is also quite handy if you're a semi-experienced user of other Linux distributions).
Basics#
blendOS is immutable, so you can't use pacman directly. You should instead use a distro container or Flatpak to install apps.
However, for apps that won't work any other way, or for things like desktops and drivers, you need to install things directly to the base system. That's where system.yaml comes in. It is a central file that manages how new filesystems will be built (TL;DR, it manages your base system). Tracks are deployable system.yaml configs (essentially different base systems) for things like desktop environments that you can build upon.
Default system.yaml#
Begin by opening the system.yaml file (at the / of your main partition) using a text editor.
nano controls
| Keybind | Action |
|---|---|
| Left+Right+Up+Down | Move |
| Letter/number/symbol keys | Type |
| Enter | Newline |
| Ctrl+X | Save and Quit |
| Ctrl+O | Save |
| Ctrl+W | Find |
More keybinds are specified at the bottom of the nano window.
You should be greeted by a file with contents similar to the following (there might be a few differences here and there, of course):
impl: https://github.com/blend-os/tracks/raw/main
repo: https://pkg-repo.blendos.co
track: default-gnome
If you're on a computer with an NVIDIA GPU, you may also see the following lines towards the end of the file:
Wondering where they came from? These lines were appended automatically to the end of the system.yaml as part of the installation process, as the installer detected the presence of an NVIDIA GPU and chose to install the latest proprietary driver for NVIDIA GPUs.
Arch Linux packages#
That brings us to how you can install other Arch Linux packages. Edit the system.yaml file to look like the following:
impl: https://github.com/blend-os/tracks/raw/main
repo: https://pkg-repo.blendos.co
track: default-gnome

packages:
    - 'chromium'
    # if you're on a system with an NVIDA GPU, keep the 'nvidia-dkms' package unless you'd like to remove the proprietary NVIDIA driver
Use spaces for indentation in system.yaml!
The YAML format doesn't allow tabs, and only spaces are allowed for indentation. It is also worth noting that like Python, indentation is mandatory, and is integral to parsing.
Now run sudo akshara update in the terminal, and reboot your computer once it completes. On the next boot, you should find the Chromium browser installed on your computer, as an Arch Linux package. You can even add a desktop environment (useful with the blendos-base track) or kernel (required with the custom track) under the packages section.
Updating
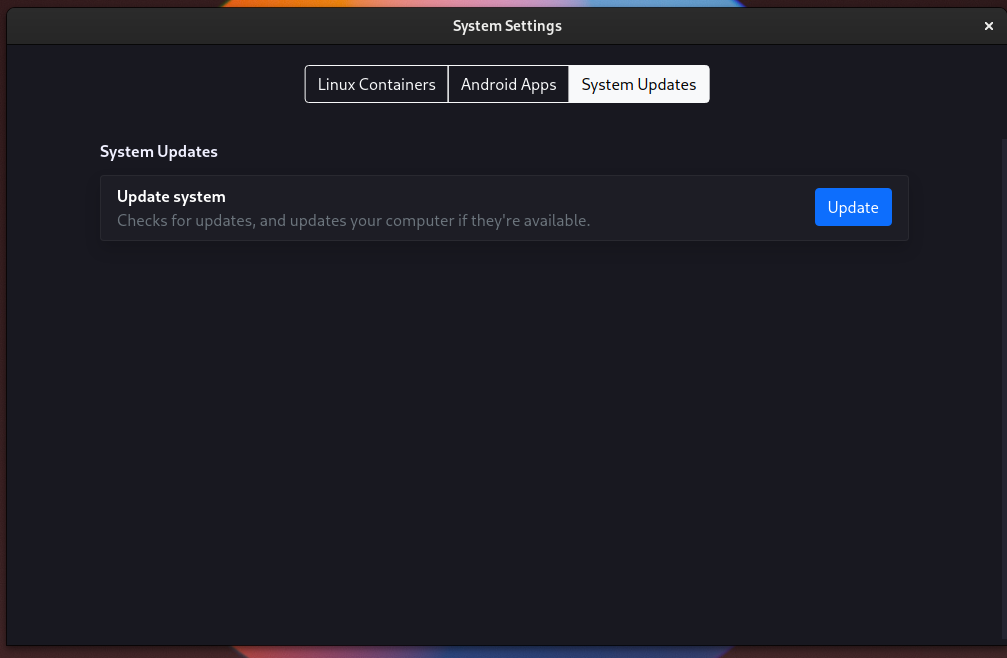
While we mention sudo akshara update everywhere in this guide, note that you can also update graphically, using the System app.
Updating your computer#
It is advised that you run sudo akshara update every few days to keep your system in sync with the Arch Linux repositories and AUR. Of course, you also have to run sudo akshara update every time you modify system.yaml for your system to reflect any changes in that file. The System application on blendOS also presents an option to 'update your system' (which runs sudo akshara update) under the System tab, if you prefer a UI.
AUR packages#
To install packages from the AUR, create an aur-packages section in system.yaml and list any AUR packages you would like to have on your computer underneath it, as follows:
The above example adds the VS Code AUR package to your. Of course, you'd have to run sudo akshara update and reboot to find Visual Studio Code on your computer.
Switching to other desktop environments or a clean Arch-like system (tracks)#
This line in system.yaml defines the track used by your system, and you can simply change it to use a different desktop environment, or use the blendos-base track to not have a desktop environment. Here are the tracks offered by the blendOS team:
blendos-base: track without a desktop environment; suitable for headless use or use with custom DEs (use thenmtuicommand to connect to a wireless network)default-gnome: variant of thegnometrack with certain changes suitable for a new user, default trackgnome: variant of theblendos-basetrack with GNOMEplasma: variant of theblendos-basetrack with KDE Plasma 6mate: variant of theblendos-basetrack with MATExfce: variant of theblendos-basetrack with XFCEcinnamon: variant of theblendos-basetrack with Cinnamonlxqt: variant of theblendos-basetrack with LXQt
Always include linux or another kernel package and networkmanager if using the custom track!
The custom track does not include a kernel out-of-the-box, so you must add a kernel like linux or linux-zen to the packages (or aur-packages) list. It is also highly advised that you include the networkmanager package (or equivalent) for more straightforward internet access (nmtui for connecting to wireless networks).
custom: includes no packages, so you must include a kernel likelinuxorlinux-zen, and for network access, you must include thenetworkmanagerpackage, or another similar package; this track is only for experienced Arch Linux users,blendos-baseis often sufficiently low-level.
Containers (apps from other distros)#
Now, you might want to install applications from other distributions like Ubuntu or Fedora, usually if they're not available in the Arch repositories or as Flatpaks. You can do so through containers. Container management is also available through the System app, but we will be using the user CLI utility in this guide. For GUI instructions and Waydroid information, you can consult the Container Management guide.
Container management#
Supported container types#
| Distro | Distro ID | Container URL |
|---|---|---|
| Arch Linux | arch-linux | quay.io/toolbx/arch-toolbox:latest |
| Debian Testing | debian | quay.io/toolbx-images/debian-toolbox:testing |
| Fedora 42 | fedora-42 | quay.io/fedora/fedora-toolbox:42 |
| CentOS Stream | centos | quay.io/toolbx-images/centos-toolbox:latest |
| Ubuntu 22.04 | ubuntu-22.04 | quay.io/toolbx/ubuntu-toolbox:22.04 |
| Ubuntu 24.04 | ubuntu-24.04-lts | quay.io/toolbx/ubuntu-toolbox:24.04 |
Creating containers#
Here's how you can create a Debian (debian, as shown in the above table) container named my-first-container.
Containers cannot be renamed!
blend does not currently support renaming containers, so if you'd like to continue using this container, it is advised you name it something more precise than my-first-container.
After its creation is complete, you'll find that all of its binaries will be available on the host with the suffix .my-first-container. For example:
- apt in the container -> apt.my-first-container on the host
- dpkg in the container -> dpkg.my-first-container on the host
- bash in the container -> bash.my-first-container on the host
Removing containers#
Just run:
Entering containers#
There are multiple ways in which you can enter a container. The first one is to use user to enter a container, as shown below (terminal window on the host):
The second, less common one, would be to run bash.my-first-container in a regular shell.
Associations#
Creating associations#
Getting tired of running apt.my-first-container all the time? You can shorten it to apt by simply running the command below (in a terminal window on the host):
You can now install a package with sudo apt install [pkg] from a regular shell.
Deleting associations#
Just run:
Packages#
Installing packages#
Aside from entering a shell, calling the container's package manager, or using associations, you can also simply use user to install packages within a container:
Removing packages#
Similarly, you can also remove packages with user:
This is all you need to know to get around blendOS using the command-line, and you should not have any trouble managing your system now. Feel free to reach out to us if you need help or encounter any bugs though!